


Trint is a transcribing program where one can upload an mp3 files of their oral histories and the software in Trint will transcribe the audio for you. Navigating through Trint can be confusing at first, and the software is not perfect at transcribing. For instance, I would have to go through and listen to the audio while following along on the transcription to make edits. In some cases, there would be an enormous amount of edits. Some people would prefer to transcribe without Trint because they feel it is just as fast to type out a transcription as it is to go and edit Trint’s transcription. However, using Trint helped me feel less overwhelmed when doing my transcriptions. I felt more comfortable having a full transcription in front of that I needed to edit versus writing out a whole transcription myself. In this blog post, I am going to do “Trint Basics” in case any of you readers think using Trint would be helpful for you.
Step 1: Make an Account
Making an account is pretty straight forward. Go to the Trint home page and click “Start Free Trial.” This will then lead you to a page where you will make a profile. Once you make your profile you are free to begin using Trint. When you make an account, you will receive 20 free minutes of Trint transcribing before you have to begin paying. You can choose which package makes the most sense for your project. My school has an arrangement with Trint which gives 20 free hours of Trint transcribing for the whole campus to use, so I was lucky enough to be approved to use some of those hours for free. If you are a student, make sure to ask if your school library has free hours that you can use before you pay for a package of hours
Step 2: Make a Folder
On your main page you will see a tab on the upper left corner that says “New Folder.” Click on this. You will then be led to a box where you will name your folder. Use the name of your project as the name of the folder. This folder is where you will upload your mp3 files to be transcribed.

Step 3: Upload Audio to folder
Once your folder is set up, it will look like this:
 When uploading audio, make sure the audio is saved as an mp3 file. To upload it to Trint, click on the three little dots at the right. You will then click on “Upload Here” and choose the mp3 file you have saved on your computer or hard drive. Once it is pulled up, click the green “Upload” button.

From there you will be prompted to choose what accent the person in the mp3 has. If your interview is done in another language, you get to choose what language it is in. Choose the most appropriate one for your interview from the dropdown menu. Once you choose that, click the green “Transcribe” button and your audio will begin to be transcribed. You will notified when it is completed (usually 5-10 minutes depending on the length of your audio).

Step 4: Begin Transcribing
Once all your mp3 files are uploaded, they will be listed under your folder (I blurred out the names of my files for privacy reasons for my interviewees). Just simply click on the file you want to transcribe and you will be taken to the transcription page.

When you get to the transcription page, you will see a lot of words. This is your transcription! However, you will need to go through and edit it. Trint allows you to play the audio and follow along in the transcription as it changes the color of the word it transcribed. The bar on the top right of the transcription allows you to pause the audio while you make corrections as well as move backward 5 seconds. This bar also allows you to adjust the speed of the audio as you make edits. Another option to hear audio at a different part of a transcription is to click on a word in the transcription. The audio will then start playing from that word. Trint also allows you to “undo,” “redo” and highlight specific words with the tool bar at the top of the transcription page.
 Step 5: Exporting Transcription
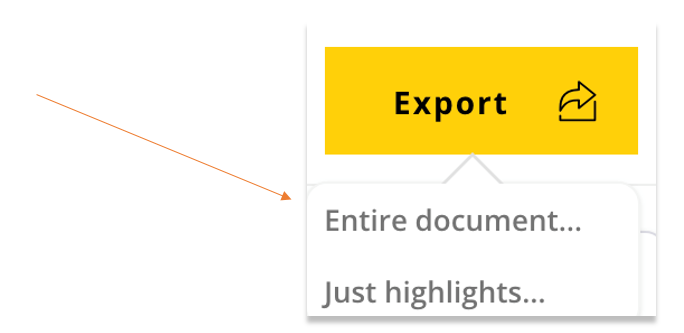
The final step to creating your transcription with Trint is to export the transcription. Once you are happy with how the transcription looks in relation to your audio, simply click the yellow “Export” button in the right hand corner of the transcription page. Once you click export, a drop down menu will appear. You will want to click “Entire Document” so your entire transcription will be exported (there is also an option to export just your highlighted areas if you want to do that instead).
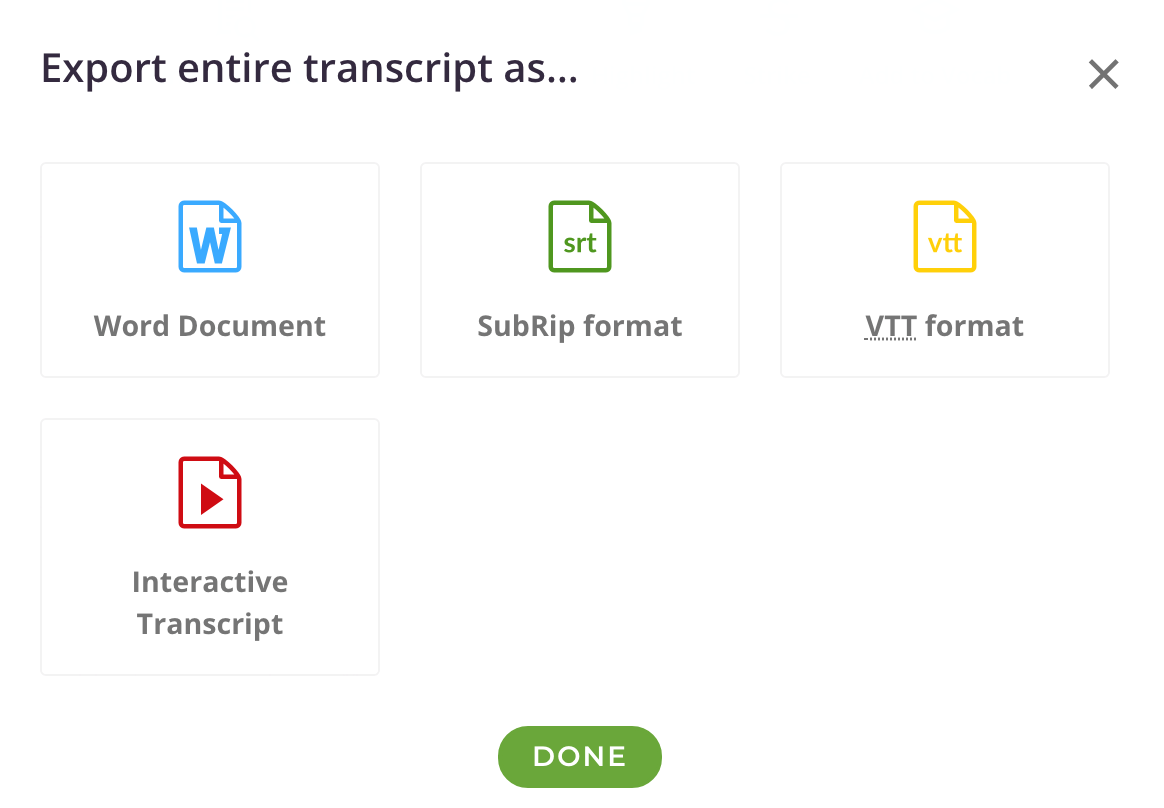
 Clicking this will bring you to a final window that gives you an option for how you want to export your transcription. Choose whichever version you would like (I always choose word document) and click on it.
 Voila! Your transcription is created! From here you can save the transcription wherever you would like to on your computer or hard drive. Happy transcribing!